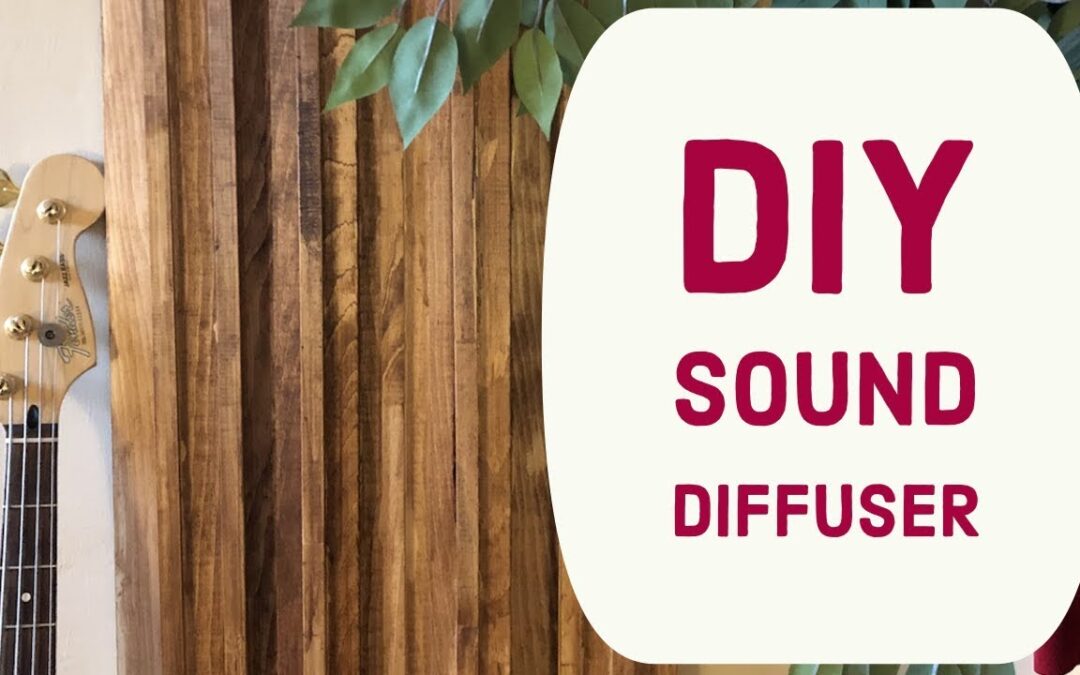
Step 1- Planning your DIY Diffuser
Not all diffusers are the same. Taking some time to assess your room and find out what imperfections your room has is really important in determining how you are going to build your diffuser.
The way I tested out my room was I set up a microphone where my head is normally and plugged the mic into my iPad. I used an app called RTA(real-time Analyzer) to get a quick snap shot of my room. I didn’t spend too much time, I walked around my space and clapped a few times to get a measurement. What I found is I have a dip around 5k so from that info I went on to planning my DIY sound diffuser.
You can also a qrd diffuser calculator to get some ideas on how to build your sound diffuser. I used a piece of software called AFMG Reflexto get an idea of what I needed to build a fractal diffuser that will treat the problem frequency range and once I got it I was ready to go shopping. If you are looking for fractal wood diffuser ideas go to Argen.com They have a free newsletter and plans that will also get you started.
Step 2 – Shopping for your DIY Diffuser
When I designed my wood diffuser I had simplicity in mind. The main reason why is because I didn’t want to spend to much time and over complicate things. I based my build on standard wood cuts that I can find anywhere at Home Depot or Lowes. All the wood I purchased came in 8 ft cuts and I cut them all to 4 ft planks. All the widths are 3/4ths. Just a side note, if you are using pine for your DIY diffuser make sure to sand the cuts first. Pine splits and it’s easy to get a sliver so take a few minutes and give the cuts a good sanding.
For the build you will need
3 planks 7 inches wide by 4ft
2 planks 1 inch by 4ft
4 planks 2.5 inch wide by 4ft
7 thin 1/2 inch (trim) wide by 4 ft
Sand Paper
Wood Glue
Clamps
Stain or finish of your choosing
Step 3 – Assemble the DIY Sound Diffuser
I started with the 7 inch planks. I glued the 1 inch planks to the 7 inch boards as a riser and a glueing point to add the middle 7 inch plank. When I glued I went 1 plank at a time clamping each glued planked for at least 15 minutes to let the glue dry.
Once the base planks were glued and secured I went ahead and added the 2.5 inch boards to the base boards. The way I did it was on the top (middle) 7 inch plank I added 2- 2.5 inch boards and on the bottom 7 inch boards (sides) I put 1- 2.5 inch board on each placed in the middle.
Based on what I needed to treat I could have left the DIY diffusers just like this, but I decided to add one more layer using the 1/2 inch trim.
I placed these on the 2.5 boards. On the top two 2.5 inch boards I just put one piece of trim right down the centre and on the bottom (side) 2.5boards I glued 2 trim pieces.
Once I finished glueing all the parts I gave the entire diffuser a good sanding. Just to get rid of any extra glue and make the service a bit nicer. Finally it was time to finish the DIY diffuser. I had some extra stain from my desk build so I decided to use that. If you’re using pine make sure to use a conditioner to help the stain take more evenly.
Because the wood diffuser is light, you can easily hang it on your wall with a z clip.

